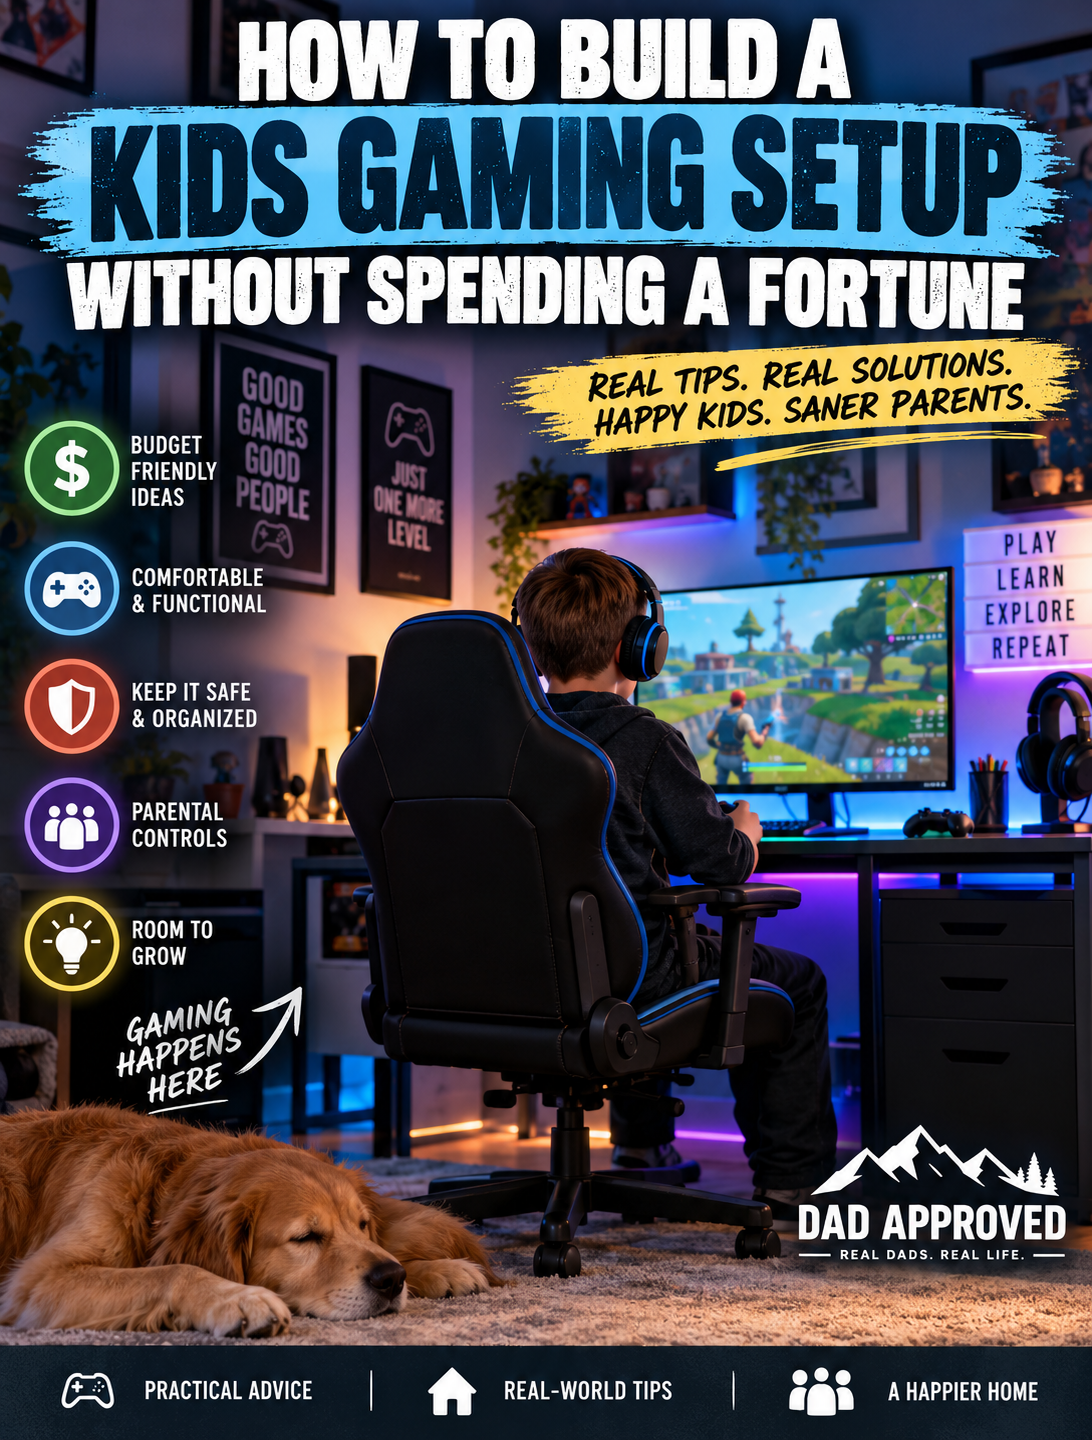
Building a gaming setup for your kid can get expensive remarkably fast.
You start with:
“Maybe we’ll get them a little desk.”
Twenty minutes later you’re looking at a $349 gaming chair, RGB wall panels, a mechanical keyboard that sounds like someone dumping LEGOs onto a hardwood floor and a desk large enough to conduct air traffic control.
Stop.
Your kid does not need a YouTube streamer’s command center to play Minecraft.
A good kids gaming setup really needs to do a handful of things well:
- Give them a comfortable place to play
- Keep expensive electronics somewhat protected from the chaos of childhood
- Keep cords and accessories under control
- Give parents reasonable oversight
- Leave room to upgrade later
You can do all of that without spending a fortune.
1. Start With What They Already Play

Before buying anything, figure out what the setup actually needs to accomplish.
A kid playing Nintendo Switch has very different requirements from a teenager playing PC games.
Maybe they’re primarily using:
- Xbox
- PlayStation
- Nintendo Switch
- Gaming PC
- Tablet
- A combination of everything because apparently electronics reproduce when we’re asleep
Build around the equipment they already own.
If they’re playing console games on a perfectly good TV, you don’t automatically need a gaming monitor.
If they’re playing Switch, you probably don’t need a six-foot gaming desk.
And if they’re playing Roblox on a laptop, building a $1,500 battlestation around it may be getting slightly ahead of ourselves.
Start with the device.
Then build the space around it.
2. Don’t Automatically Buy a “Gaming” Desk
Putting the word gaming in front of furniture occasionally performs an impressive magic trick on the price.
Gaming desk.
Gaming chair.
Gaming shelf.
Gaming cup holder.
Gaming oxygen, probably coming soon.
Your kid needs a stable surface at the correct height with enough room for their equipment.
That’s it.
A basic desk, writing desk or inexpensive computer desk can work perfectly well.
For console setups, you might not even need a desk. A TV stand, small entertainment center or existing bedroom furniture may already solve the problem.
Spend money where it actually improves the experience.
The furniture doesn’t need racing stripes.
3. Be Even More Skeptical of the Gaming Chair

This might save you more money than anything else in the room.
Your kid does not need a $400 racing-style gaming chair.
They need a chair that’s comfortable and fits them.
That’s an important distinction.
Look for:
- Adjustable height
- Decent back support
- Feet that can sit comfortably rather than dangle awkwardly
- A seat depth appropriate for their size
- Something reasonably durable
A basic adjustable office chair can be a better choice than an inexpensive “gaming chair” designed primarily to look cool in an Amazon thumbnail.
And if they’re still growing quickly, remember that you’re buying furniture for a moving target.
Don’t build the cockpit of a Formula 1 car around a nine-year-old.
4. Put the Setup Somewhere You Can Actually See It
This matters more for younger kids than having the perfect RGB lighting.
For younger children especially, consider putting the gaming setup in a shared or higher-traffic part of the house rather than disappearing it behind a closed bedroom door.
The American Academy of Pediatrics specifically recommends keeping devices used for online multiplayer gaming in higher-traffic areas such as a living room, family room or kitchen so parents can stay aware of what’s happening without constantly hovering.
That’s particularly useful once multiplayer games enter the picture.
Because now gaming isn’t necessarily just:
Kid + Mario.
It can be:
Kid + headset + internet + seventeen people named things like xXShadowPickle47Xx.
You don’t need to stand behind them reading every chat message.
But knowing what’s happening is useful.
5. Cable Management Is Worth Doing Immediately
You know what’s cheaper than replacing a controller, monitor or console?
A $10 pack of cable ties.
Cords multiply quickly:
Power cable.
HDMI cable.
Controller charger.
Headset cable.
Keyboard.
Mouse.
LED lights.
Phone charger.
And somehow one mysterious cord nobody remembers buying but everyone is afraid to unplug.
Use simple Velcro cable ties, clips or an under-desk cable tray to keep things contained.
Also leave a little slack where kids need to move something.
You don’t want one excited chair spin to perform an HDMI-assisted monitor launch.
6. Give Controllers and Headsets a Home
Kids are much better at putting things away when “away” is obvious.
Give controllers one place to go.
Give the headset one hook.
Give game cartridges or discs one container.
Give charging cables one location.
Nothing elaborate is required.
A cheap adhesive hook attached to the side of a desk can hold a headset.
A little basket can hold controllers.
A drawer organizer can handle cables and accessories.
The goal is eliminating:
“WHERE IS MY CONTROLLER?”
followed by twenty minutes of searching before discovering it under a blanket approximately fourteen inches from where the child was originally sitting.
7. Protect the Drinks From the Electronics
Kids get thirsty.
Gaming sessions get long.
Drinks eventually enter the ecosystem.
This creates a natural predator-prey relationship between cups and electronics.
If drinks are allowed near the setup, give them somewhere sensible to go.
A clamp-on cup holder attached to the desk can cost very little and keeps drinks away from keyboards, controllers and consoles.
For younger kids, a bottle with a secure lid is even better.
Because “Don’t spill that” has historically been one of the least effective technologies ever developed by parents.
8. You Don’t Need Much RGB

I know.
The lights are cool.
Your kid knows.
I know.
The entire gaming industry definitely knows.
But you don’t need to turn the bedroom into the bridge of an alien spacecraft.
One inexpensive LED strip behind a desk or monitor can create most of the effect kids want.
That’s usually enough.
If you eventually want wall panels, monitor lights and glowing hexagons capable of communicating with passing satellites, those can become future upgrades.
Start small.
Lighting is also an easy birthday or Christmas upgrade later.
Which brings us to an important rule.
9. Don’t Build the Finished Setup on Day One
This is where parents accidentally spend $1,000.
You don’t need to buy:
Desk.
Chair.
Monitor.
Keyboard.
Mouse.
Headset.
Speakers.
Lights.
Controller stand.
Charging dock.
Wall panels.
Mini fridge.
Neon gamer tag.
Replica Master Sword.
…all on Saturday.
Start with the basics.
Then let the setup grow.
A headset can become a birthday gift.
Lights can become a Christmas gift.
A better keyboard can come later.
A second monitor can wait until there’s actually a reason to have one.
Kids also change interests quickly.
Today’s absolute obsession may be collecting dust six months from now next to the ukulele they desperately needed last Christmas.
Upgrade based on what they’re actually using.
10. Set Up the Parental Controls Before You Need Them
This isn’t the exciting part of building the setup.
Do it anyway.
Modern gaming parental controls can generally help parents manage things such as:
- Game ratings
- Screen time
- Online communication
- Friend interactions
- Purchases
- Privacy
The ESRB’s Family Gaming Guide has guidance for setting boundaries around games, multiplayer, screen time, spending and online communication.
And don’t forget that controls may exist in more than one place.
The ESRB notes that parental controls generally need to be configured separately for the devices your child uses, and some individual games have their own additional controls.
That matters.
Setting restrictions on the Xbox doesn’t necessarily mean you’ve configured everything inside every game your kid plays.
Also, please put a password or PIN on purchases.
Unless you enjoy discovering that your child has converted actual United States currency into a digital banana costume.
11. Decide the Gaming Rules Before There’s an Argument
The worst time to establish the rules is when you’re already yelling:
“TURN IT OFF.”
Decide ahead of time how gaming fits into your household.
Maybe homework comes first.
Maybe chores come first.
Maybe there are no games during dinner.
Maybe devices shut down at a certain time on school nights.
The exact rules will vary by family and by age.
That’s okay.
The American Academy of Pediatrics’ Family Media Plan recommends creating media rules that fit your family’s routines and values, including screen-free times or places and making sure media doesn’t crowd out sleep, physical activity, schoolwork and other important parts of life.
You don’t necessarily need an arbitrary rule like:
ALL VIDEO GAMES ARE BAD AFTER 47 MINUTES.
You need expectations your kid understands before the controller is already in their hands.
12. Learn What They’re Actually Playing
You don’t have to become good at Fortnite.
Your dignity can remain intact.
But learn enough about the games your kid plays to understand:
- Who they’re playing with
- Whether voice chat is enabled
- What they can purchase
- Whether strangers can contact them
- What kind of content is in the game
- Why they enjoy it
Better yet, occasionally play with them.
The AAP encourages parents to use media together rather than relying exclusively on rules and restrictions.
And there’s another advantage.
Kids will tell you an astonishing amount while you’re doing something with them.
Sometimes you’ll learn more playing a game together for thirty minutes than you would by sitting them down and announcing:
“I would like to discuss your digital life.”
Please don’t announce that.
The Cheap Kids Gaming Setup I’d Build First
If I were starting from scratch, I wouldn’t buy much.
I’d start with:
1. The gaming device they already own
2. A basic desk or existing TV setup
3. A comfortable adjustable chair
4. A headset if they actually need voice chat
5. Simple cable management
6. A controller basket or headset hook
7. One inexpensive LED strip if they want the gamer look
That’s enough.
Seriously.
Everything else can come later.
A Great Gaming Setup Isn’t About Having the Most Stuff
Kids don’t care whether their desk cost $79 or $479 once the game starts.
They care that the space feels like theirs.
Let them pick where things go.
Let them choose the lighting.
Let them put up posters.
Let them display their favorite games or characters.
Let the setup slowly become something they’ve helped build instead of something Dad ordered in fourteen boxes because Reddit said the keyboard switches weren’t optimal.
And maybe sit down and play with them once in a while.
Years from now, they’re probably not going to remember whether their first gaming setup had a 144Hz monitor.
They might remember Dad sitting beside them trying to figure out why the Minecraft house is on fire.
Again.
Dad Approved.